Connecting the Skype for Business Server 2019 Modern Admin Control Panel (MACP) to Microsoft 365
I recently built a hybrid Skype for Business Server 2019 CU1 HF1 lab and began playing around with the new modern Skype for Business Server Admin Center. One aspect that stood out to me was its ability to move users to Skype for Business Online and Microsoft Teams. This feature should work exactly like it does in the Silverlight Control Panel correct? No…
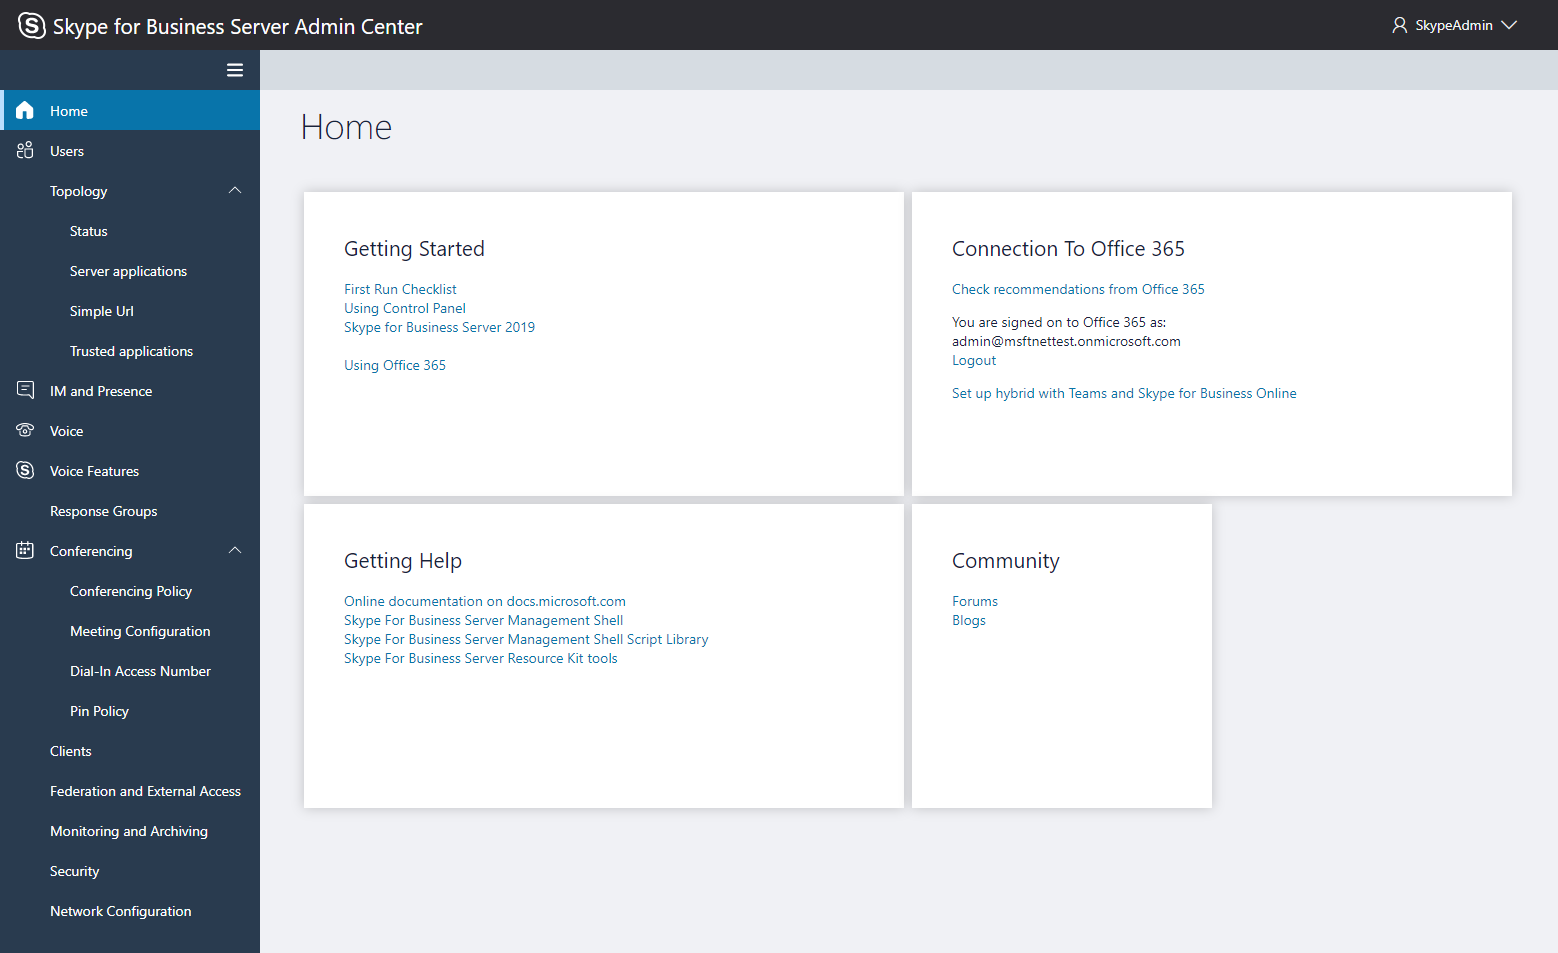
The new control panel requires that an Azure AD Application be created on first as the new control panel requires OAuth to connect to Microsoft 365. If you attempt to click the “Sign in to Office 365” link from the new control panel, an error will state “Unable to find clientId. Please set valid clientId using Set-CsHybridConfiguration.” After digging around for this mysterious cmdlet, I spoke with Richard Brynteson and he explained that a script needs to be ran against the environment to create the Azure AD Application. This script is available from https://docs.microsoft.com/en-us/SkypeForBusiness/control-panel-auth-script
Take the contents of the script above and create a .ps1 file so that it is very easy to run the contents of the script. Run the script against the local server and the results from running the script should look like it does below:
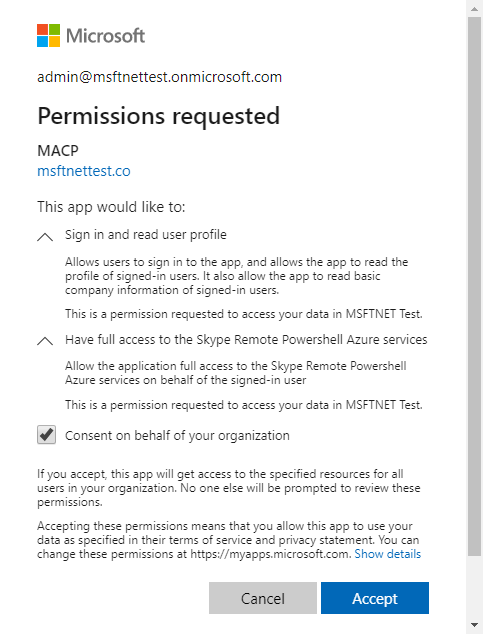
Now that the Azure AD Application has been created, login to the new modern control panel at https://<Internal/ExternalWebFQDN>/MACP. Click the link on the dashboard that states: “Set up hybrid with Teams and Skype for Business Online” and enter the credentials of a Global Administrator. It will ask for permissions to “Read your profile” and “Have full access to the Skype Remote PowerShell Azure services”. After providing the required permissions, the wizard will verify your on-premises and Microsoft 365 configuration. If everything is verified to be in good working order, 4 green check boxes will be displayed. .
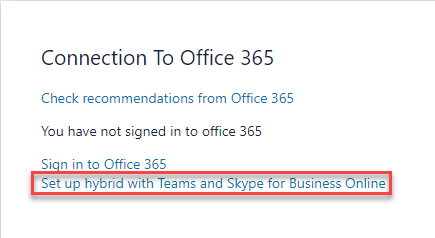
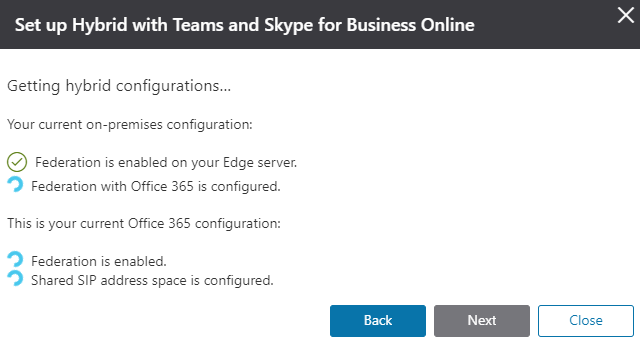
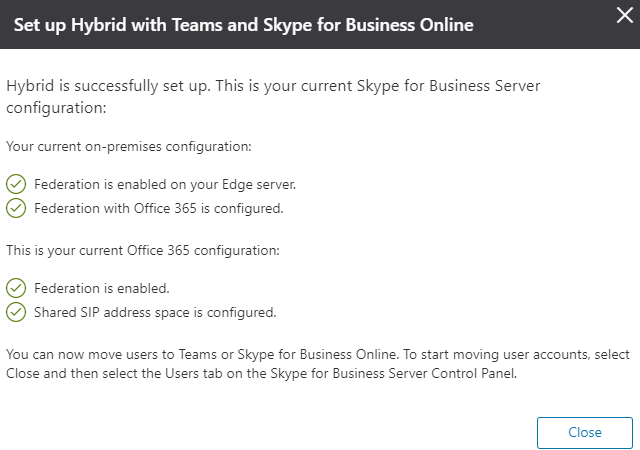
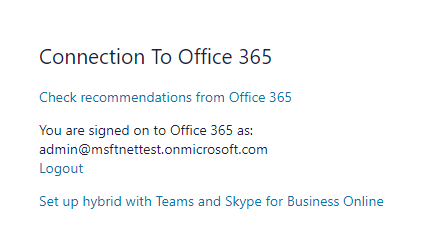
Click Close to finish the wizard. The dashboard of the modern admin center will now state that you are now signed into Microsoft 365 as a specific user.
Moving Users
Navigate to the Users tab on the left-hand side and select the user(s) that you would like to move to Skype for Business Online or Microsoft Teams. Select the option to move the user to SFB Online or Microsoft Teams.
A prompt will ask you to confirm that you are for sure wanting to move these users to a new registrar. Select Next to confirm.
Once the user(s) are moved, a prompt stating that the users were moved or not moved successfully will appear.
That’s it! If you have any questions, feel free to reach out any time!
4 Comments